Why Yeasted Waffles Make Breakfast Better
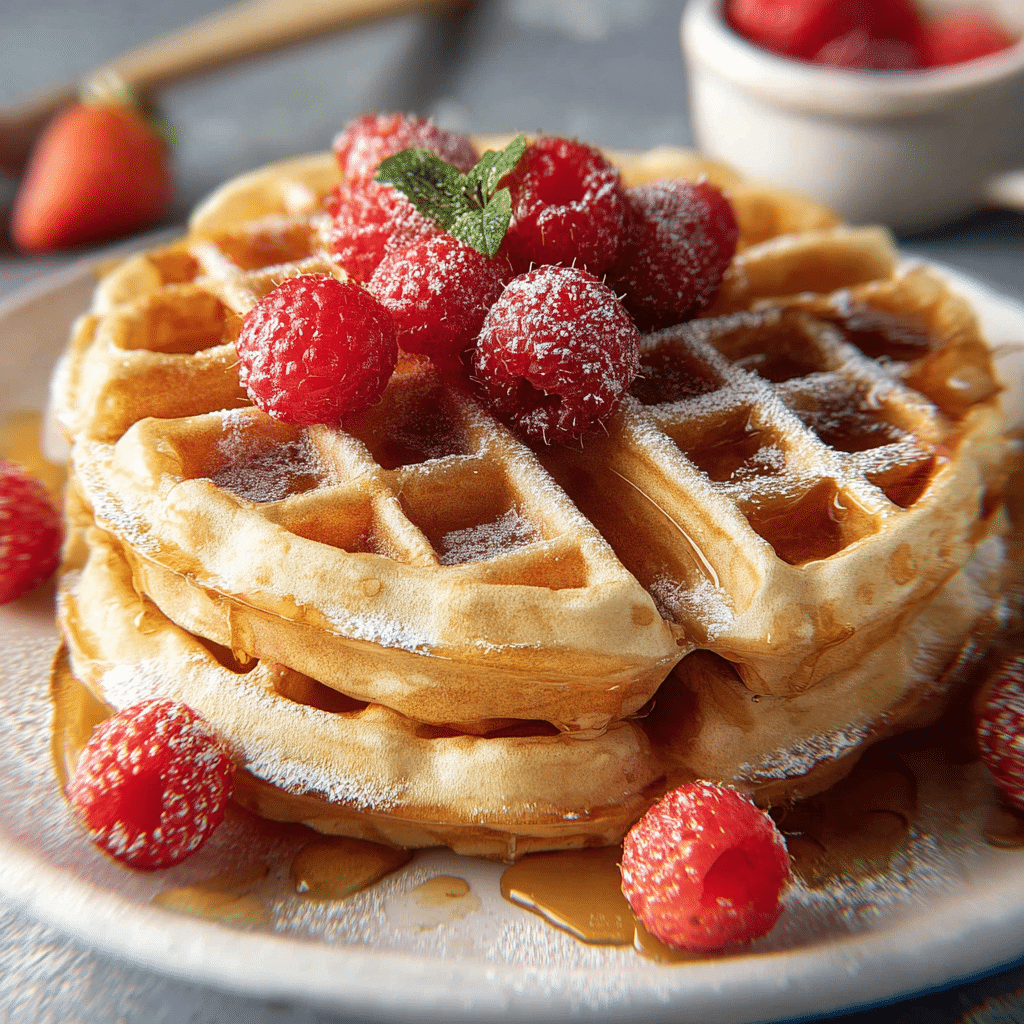
Discover the airy, crispy magic of yeasted waffles that elevate breakfast to a deliciously fluffy new level every morning! Yeasted waffles bring that perfect balance of lightness and crunch, making each bite feel like a delightful celebration of texture and flavor. Whether you’re looking to impress weekend brunch guests or simply savor a better breakfast at home, these waffles offer a uniquely satisfying experience compared to traditional batter.
Why You’ll Love This Recipe
- Unmatched Fluffiness: The yeast fermentation creates tiny air pockets that lighten up the batter, resulting in remarkably fluffy waffles.
- Crispy Exterior: Yeasted waffles develop a golden, crispy crust that beautifully contrasts the soft inside.
- Deep Flavor: Slow rising adds a subtle tang and richer flavor profile that plain waffles can’t compete with.
- Perfect for Make-Ahead: These waffles hold up well for leftovers and freeze beautifully for quick future breakfasts.
- Impressively Versatile: Customize with fruits, spices, or toppings to match any mood or occasion.
Ingredients You’ll Need
Although yeasted waffles sound fancy, the ingredient list is refreshingly simple and focuses on quality basics. Each element plays a key role, from providing structure to flavor and beautiful browning.
- Active Dry Yeast: The star that causes fermentation, giving waffles their signature lift and airy texture.
- Flour: All-purpose flour gives the batter body and structure essential for thick, yet tender waffles.
- Milk: Adds moisture and richness while helping activate the yeast for rise.
- Sugar: Just enough to feed the yeast and add a touch of sweetness that caramelizes when cooking.
- Eggs: Provide stability, richness, and contribute to the fluffy crumb.
- Butter: Melted butter creates a tender crumb and beautifully browned edges.
- Salt: Balances sweetness and enhances the overall flavor.
Variations for Yeasted Waffles
One of the best things about yeasted waffles is how easily the recipe adapts to your taste buds and dietary preferences. From sweet to savory or gluten-free tweaks, make this recipe your own with a few simple swaps!
- Whole Wheat Twist: Swap half or all-purpose flour with whole wheat for a nuttier flavor and added fiber.
- Buttermilk Upgrade: Replace milk with buttermilk for extra tang and tenderness.
- Fruit Additions: Fold in chopped fresh berries or diced apples right before cooking for bursts of juicy sweetness.
- Gluten-Free Version: Use a gluten-free flour blend and ensure yeast is gluten-free for sensitive eaters.
- Spiced Waffles: Add cinnamon, nutmeg, or vanilla extract to complement the yeasty tang with warm aromas.

How to Make Yeasted Waffles
Step 1: Activate the Yeast
Begin by warming the milk to about 100-110°F, then sprinkle the active dry yeast over it along with a pinch of sugar. Let it sit for 5-10 minutes until the mixture becomes frothy and bubbly to ensure your yeast is alive and ready.
Step 2: Mix Dry Ingredients
While the yeast activates, combine the flour, sugar, and salt in a large bowl. This dry blend forms the base of the waffle batter.
Step 3: Combine Wet Ingredients
In another bowl, whisk the eggs with the melted butter. Slowly mix the frothy yeast mixture into the eggs and butter until fully incorporated.
Step 4: Form the Batter and Let Rise
Gradually pour the wet ingredients into the dry, stirring just until combined — a few small lumps are okay. Cover the bowl loosely with a kitchen towel and let the batter rise in a warm place for about 1 to 1.5 hours or until doubled in size.
Step 5: Cook the Waffles
Preheat your waffle iron and spray with non-stick cooking spray. Scoop enough batter to fill the iron (usually 1/2 to 3/4 cup). Close the lid and cook for 3-5 minutes until waffles are golden brown and crispy on the outside.
Step 6: Serve Warm
Remove immediately and serve hot with your favorite toppings or sides to enjoy the full yeasted waffle experience.
Pro Tips for Making Yeasted Waffles
- Use Fresh Yeast: Always check the expiration date on yeast for the best rise and texture.
- Don’t Overmix: Stir the batter just until combined to keep waffles tender and prevent toughness.
- Optimal Rising Temperature: Let the batter rise in a warm, draft-free spot to activate yeast fully.
- Preheat Your Waffle Iron Well: Ensures each waffle crisps evenly and doesn’t stick to the plates.
- Rest Batter if Needed: For an even better flavor, try refrigerating batter overnight before cooking.
How to Serve Yeasted Waffles
Garnishes
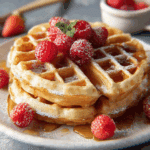
Top yeasted waffles with classic options like fresh berries, whipped cream, maple syrup, or even a sprinkle of powdered sugar for a simple yet delicious combo that accentuates their crispy texture and subtle tang.
Side Dishes
Pair waffles with breakfast staples like bacon, sausage, scrambled eggs, or a vibrant fruit salad to balance savory and sweet flavors on your plate.
Creative Ways to Present
Layer yeasted waffles with yogurt and fresh fruit parfait style, or make waffle sandwiches using fried chicken and pickles for an irresistible twist on brunch.
Make Ahead and Storage
Storing Leftovers
Cool your yeast waffles completely on a wire rack to avoid sogginess, then store in an airtight container in the refrigerator for up to 3 days.
Freezing
Freeze leftover waffles in a single layer on a baking sheet, then transfer to a freezer bag. They freeze wonderfully and keep well for up to 2 months.
Reheating
Reheat waffles in a toaster or oven at 350°F for 5-7 minutes to revive their crisp exterior without drying them out.
FAQs
What makes yeasted waffles different from regular waffles?
Yeasted waffles use yeast instead of baking powder for leavening, which results in a lighter, airier texture and a subtle tangy flavor from fermentation.
Can I use instant yeast instead of active dry yeast?
Yes, instant yeast can be used but adjust the activation time or mix it directly with the dry ingredients, as it does not require proofing.
How long can yeasted waffle batter sit before cooking?
The batter should rise for about 1 to 1.5 hours until doubled but can be refrigerated overnight for enhanced flavor and convenience.
Can I make yeasted waffles vegan?
Absolutely! Substitute dairy milk with a plant-based milk, use a vegan butter alternative, and replace eggs with flax or chia egg substitutes.
Why are my yeasted waffles not crispy?
Waffles may turn soggy if batter is too thick, the waffle iron isn’t hot enough, or if they are stacked before cooling properly; ensure they crisp by following proper resting and cooking steps.
Final Thoughts
Yeasted waffles truly transform breakfast into a special occasion with their light texture, crisp edges, and rich flavor you won’t want to miss. Once you try these waffles, breakfast will never feel ordinary again. Give this recipe a go and enjoy the magic of yeasted waffles every morning!
Related Posts
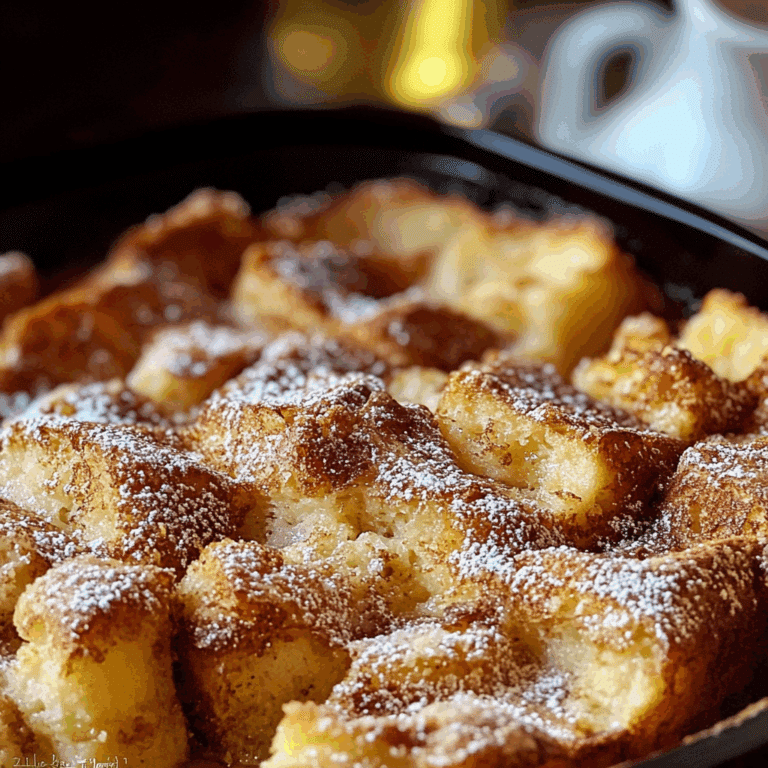
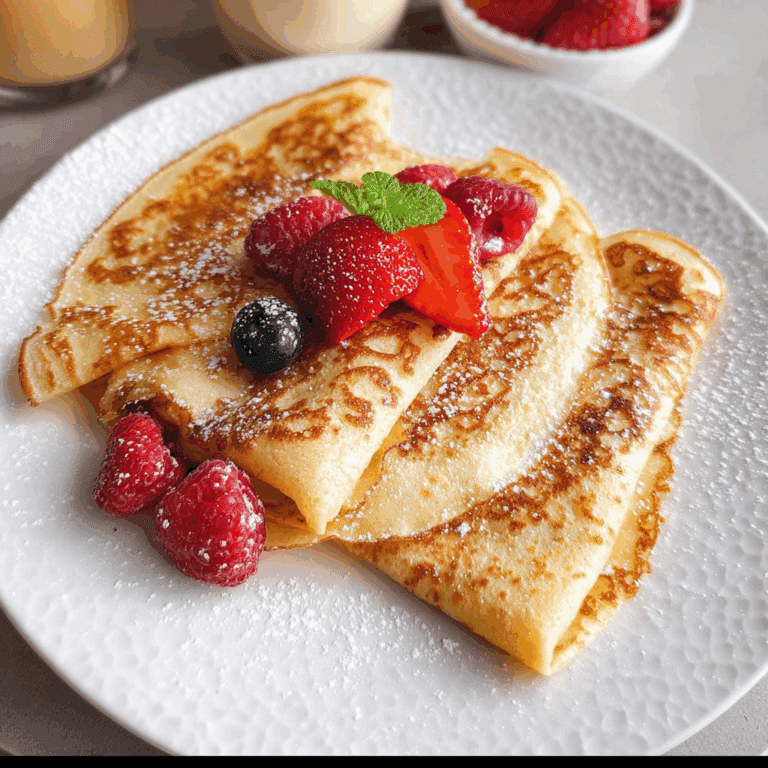
- How to Make Perfect Cinnamon French Toast
- How to Make Seven Layer Breakfast Tacos Fast
- Easy Hashbrown Breakfast Casserole for Mornings
Yeasted Waffles
- Total Time: 1 hour 35 minutes
- Yield: 6-8 waffles 1x
- Diet: Vegetarian
Description
Experience the airy, crispy delight of yeasted waffles that bring a fluffy texture and golden crispiness to your breakfast. This recipe features slow fermentation for deep flavor, perfect for make-ahead meals and customizable to suit your taste preferences.
Ingredients
Yeasted Waffle Ingredients
- 1 packet (2 1/4 tsp) active dry yeast
- 2 1/2 cups all-purpose flour
- 1 3/4 cups warm milk (100-110°F)
- 2 tbsp sugar
- 2 large eggs
- 4 tbsp melted butter
- 1/2 tsp salt
Instructions
- Activate the Yeast: Warm the milk to about 100-110°F, then sprinkle the active dry yeast and a pinch of sugar on top. Let it sit for 5-10 minutes until frothy and bubbly to confirm the yeast is active.
- Mix Dry Ingredients: In a large bowl, combine the flour, sugar, and salt to create the dry base of the waffle batter.
- Combine Wet Ingredients: In a separate bowl, whisk the eggs and melted butter together. Slowly mix in the frothy yeast mixture until fully incorporated.
- Form the Batter and Let Rise: Gradually pour the wet ingredients into the dry ingredients, stirring just until combined. A few small lumps are fine. Cover loosely with a kitchen towel and let rise in a warm spot for 1 to 1.5 hours until the batter doubles in size.
- Cook the Waffles: Preheat your waffle iron and spray with non-stick cooking spray. Scoop 1/2 to 3/4 cup of batter onto the iron, close the lid, and cook for 3-5 minutes until golden brown and crispy.
- Serve Warm: Remove waffles immediately and serve hot with your favorite toppings for the best yeasted waffle experience.
Notes
- Use fresh yeast and check expiration date for best results.
- Do not overmix the batter; stir just until combined to keep waffles tender.
- Let the batter rise in a warm, draft-free area for optimal yeast activation.
- Preheat your waffle iron well to ensure even crisping and prevent sticking.
- For enhanced flavor, refrigerate batter overnight before cooking.
- Prep Time: 15 minutes
- Cook Time: 20 minutes
- Category: Breakfast
- Method: Waffle Iron Cooking
- Cuisine: American
Nutrition
- Serving Size: 1 waffle
- Calories: 220
- Sugar: 4g
- Sodium: 180mg
- Fat: 9g
- Saturated Fat: 5g
- Unsaturated Fat: 3g
- Trans Fat: 0g
- Carbohydrates: 27g
- Fiber: 1g
- Protein: 6g
- Cholesterol: 55mg
Keywords: yeasted waffles, fluffy waffles, crispy waffles, breakfast waffles, yeast waffles, make-ahead waffles