Cookie Monster Cheesecake

The Cookie Monster Cheesecake is a delightful dessert that combines rich, creamy cheesecake with the playful crunch of cookies in every bite. This vibrant and fun recipe is perfect for anyone who loves a sweet treat with texture and color, making it stand out among typical cheesecakes. Whether you’re a seasoned baker or a dessert enthusiast looking for something new, this Cookie Monster Cheesecake offers a perfect balance of flavor and fun, making it an absolute must-try treat for your next gathering or indulgent moment.
Why You’ll Love This Recipe
- A creamy dream: Smooth, luscious cheesecake filling that melts in your mouth.
- Cookie crunch: Generous chunks of cookies add a satisfying texture throughout.
- Bright and fun: The vibrant blue colors and playful cookies make it visually irresistible.
- Easy to share: Perfect for parties, celebrations, or just indulging with friends and family.
- Customizable: Easily adaptable by swapping cookie types or adjusting sweetness levels.
Ingredients You’ll Need
This recipe uses simple, accessible ingredients that come together seamlessly to create a cheesecake bursting with flavor and fun. Each component plays a key role, from the smooth cream cheese providing richness to the cookies delivering crunch and visual appeal.
- Cream cheese: The base of your cheesecake giving it that signature creamy texture.
- Sugar: Adds sweetness that balances the tanginess of the cream cheese.
- Vanilla extract: Brings warmth and depth to the cheesecake flavor.
- Eggs: Help bind the ingredients and give it a smooth, firm structure.
- Blue food coloring: Creates the iconic Cookie Monster blue shade.
- Cookies: Typically blue cookie pieces or chocolate chip cookies, offering texture and bursts of flavor.
- Butter: For the crust, adding richness and helping it hold shape.
- Graham cracker crumbs: Forms the perfect crunchy base for the cheesecake.
Variations for Cookie Monster Cheesecake
Feel free to make this Cookie Monster Cheesecake truly your own by experimenting with a few simple swaps or additions. It’s easy and fun to tweak according to what you have on hand or your dietary preferences.
- Gluten-free option: Use gluten-free cookies and graham cracker crumbs to keep it friendly for gluten-sensitive guests.
- Cookie swaps: Replace the classic chocolate chip cookies with Oreos or white chocolate macadamia for different flavors.
- Vegan version: Substitute cream cheese and butter with plant-based alternatives without sacrificing creaminess.
- Extra crunch: Add chopped nuts like pecans or walnuts into the crust or filling.
- Flavor boosters: Stir in a hint of lemon zest or coconut flakes for added complexity.

How to Make Cookie Monster Cheesecake
Step 1: Prepare the crust
Combine the graham cracker crumbs and melted butter until the mixture resembles wet sand. Press evenly into the bottom of your springform pan to form a firm base and refrigerate while making the filling.
Step 2: Make the cheesecake filling
Beat softened cream cheese with sugar and vanilla until smooth. Add eggs one at a time, mixing well after each to ensure a creamy, lump-free batter. Stir in blue food coloring until you achieve that iconic Cookie Monster hue.
Step 3: Stir in cookie pieces
Gently fold chopped cookies into the batter, making sure they’re evenly distributed without breaking them up too much.
Step 4: Bake with care
Pour the filling over the prepared crust and bake at a moderate temperature until the edges are set and the center is just slightly jiggly, ensuring a moist and creamy texture.
Step 5: Chill and set
Allow the cheesecake to cool to room temperature before refrigerating for at least 4 hours or overnight. This chilling step helps the flavors meld and the texture firm up perfectly.
Pro Tips for Making Cookie Monster Cheesecake
- Room temperature ingredients: Ensure cream cheese and eggs are at room temp to avoid lumps.
- Don’t overmix: Blend just until smooth to keep the cheesecake light and airy.
- Use a water bath: Baking in a water bath prevents cracks and keeps the cheesecake moist.
- Chop cookies evenly: So you get balanced cookie bites throughout the cheesecake.
- Cool gradually: Let the cheesecake cool slowly to prevent shrinking or cracking.
How to Serve Cookie Monster Cheesecake
Garnishes
Top with whipped cream, extra crushed cookies, or even mini chocolate chips to enhance both the flavor and visual appeal, creating a fun and inviting dessert presentation.
Side Dishes
Serve with fresh berries, a drizzle of chocolate or caramel sauce, or a scoop of vanilla ice cream to complement the richness of the cheesecake.
Creative Ways to Present
Try individual mini cheesecake jars or styled slices arranged with colorful sprinkles for birthdays or themed parties where the Cookie Monster Cheesecake’s blue pop can really shine.
Make Ahead and Storage
Storing Leftovers
Keep leftover cheesecake covered tightly in the refrigerator for up to 4 days to maintain freshness and texture.
Freezing
Wrap cheesecake securely in plastic wrap and aluminum foil for freezing. It can be frozen for up to 1 month and thawed overnight in the fridge before serving.
Reheating
Cheesecake is best served cold, but if you prefer it less chilled, let it sit at room temperature for 30 minutes before enjoying to bring out the flavors without warming it.
FAQs
Can I use other types of cookies in Cookie Monster Cheesecake?
Absolutely! You can swap blue cookies with Oreos, chocolate chips, or your favorite cookie type to customize the texture and taste.
Is it necessary to use blue food coloring?
While blue color gives the cheesecake its signature Cookie Monster look, you can skip or reduce it if you prefer a natural cheesecake color.
How long does it take to make Cookie Monster Cheesecake?
Active prep and bake time is about 1 hour, but chilling for at least 4 hours or overnight is essential for the perfect set and flavor.
Can I make this recipe vegan or dairy-free?
Yes! Use plant-based cream cheese and butter alternatives, along with vegan cookies, to make a dairy-free version of this cheesecake.
What is the best way to prevent cracks in cheesecake?
Using a water bath during baking and allowing the cheesecake to cool gradually helps prevent surface cracks for a smooth finish.
Final Thoughts
There’s just something magical about the Cookie Monster Cheesecake that makes it such an irresistible dessert. With its creamy texture, crunchy cookie bits, and playful bright blue color, it’s a treat that brings smiles and satisfies dessert cravings like no other. Don’t hesitate to give this recipe a try—you’ll be amazed at how easy it is to create a showstopping dessert that tastes as fantastic as it looks!
Related Posts
- Festive Meringue Christmas Trees
- Quick Christmas Peppermint Creams
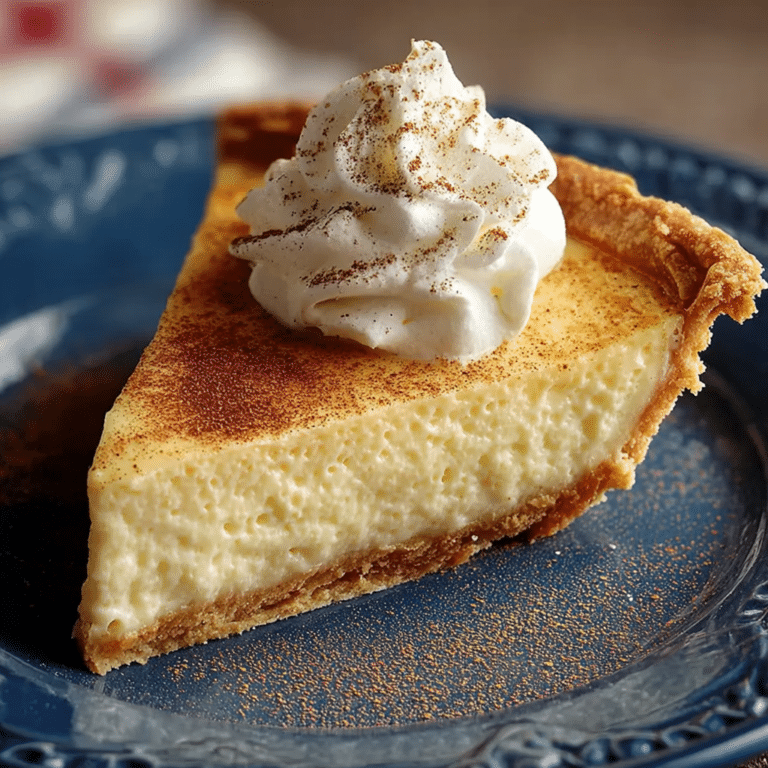
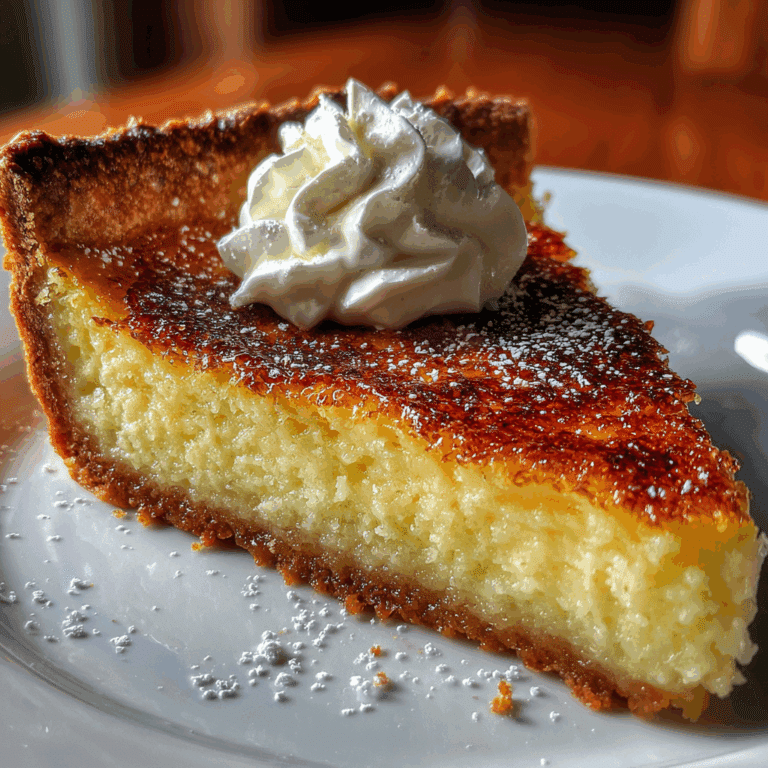
- Christmas Eve Cinnamon-Vanilla Custard Pie

Cookie Monster Cheesecake
- Total Time: 5 hours (including chilling)
- Yield: 10-12 servings 1x
- Diet: Gluten Free (can be adapted)
Description
The Cookie Monster Cheesecake is a vibrant and fun dessert that combines a rich, creamy cheesecake filling with crunchy cookie pieces in every bite. Featuring a signature bright blue color and customizable ingredients, this cheesecake is perfect for celebrations and those who love a sweet treat with texture and visual appeal.
Ingredients
Crust
- 1 1/2 cups graham cracker crumbs
- 1/3 cup melted butter
Cheesecake Filling
- 24 oz (3 packages) softened cream cheese
- 1 cup granulated sugar
- 1 teaspoon vanilla extract
- 3 large eggs, at room temperature
- 1 teaspoon blue food coloring
- 1 to 1 1/2 cups chopped blue cookies or chocolate chip cookies
Instructions
- Prepare the crust: Combine the graham cracker crumbs and melted butter until the mixture resembles wet sand. Press evenly into the bottom of a springform pan to form a firm base. Refrigerate while preparing the filling.
- Make the cheesecake filling: Beat softened cream cheese with sugar and vanilla extract until smooth and creamy. Add eggs one at a time, mixing well after each addition to ensure a lump-free batter. Stir in blue food coloring until the mixture reaches the iconic Cookie Monster blue shade.
- Stir in cookie pieces: Gently fold chopped cookies into the batter, ensuring even distribution without breaking them up too much to maintain texture.
- Bake with care: Pour the filling over the prepared crust and bake at 325°F (163°C) using a water bath until the edges are set and the center is slightly jiggly, typically about 50-60 minutes. This ensures a moist and creamy texture.
- Chill and set: Allow the cheesecake to cool to room temperature. Then refrigerate for at least 4 hours or overnight to let the flavors meld and the texture firm up perfectly.
Notes
- Use room temperature cream cheese and eggs to avoid lumps and achieve a smooth batter.
- Do not overmix the batter; blend just until smooth to keep the cheesecake light and airy.
- Baking in a water bath prevents cracks and keeps the cheesecake moist and creamy.
- Chop cookies evenly for balanced cookie bites throughout the cheesecake.
- Cool the cheesecake gradually to prevent shrinking or cracking.
- For gluten-free, use gluten-free cookies and graham cracker crumbs.
- To make vegan, substitute cream cheese, butter, and cookies with plant-based alternatives.
- Prep Time: 20 minutes
- Cook Time: 50-60 minutes
- Category: Dessert
- Method: Baking
- Cuisine: American
Nutrition
- Serving Size: 1 slice (1/12 of cheesecake)
- Calories: 400 kcal
- Sugar: 28 g
- Sodium: 230 mg
- Fat: 28 g
- Saturated Fat: 17 g
- Unsaturated Fat: 8 g
- Trans Fat: 0 g
- Carbohydrates: 30 g
- Fiber: 1 g
- Protein: 6 g
- Cholesterol: 110 mg
Keywords: cheesecake, cookie monster, dessert, blue cheesecake, party dessert, creamy cheesecake, cookie crunch, gluten free cheesecake