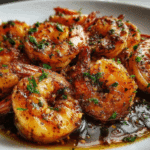
How to Make Peppery Garlic Shrimp Fast
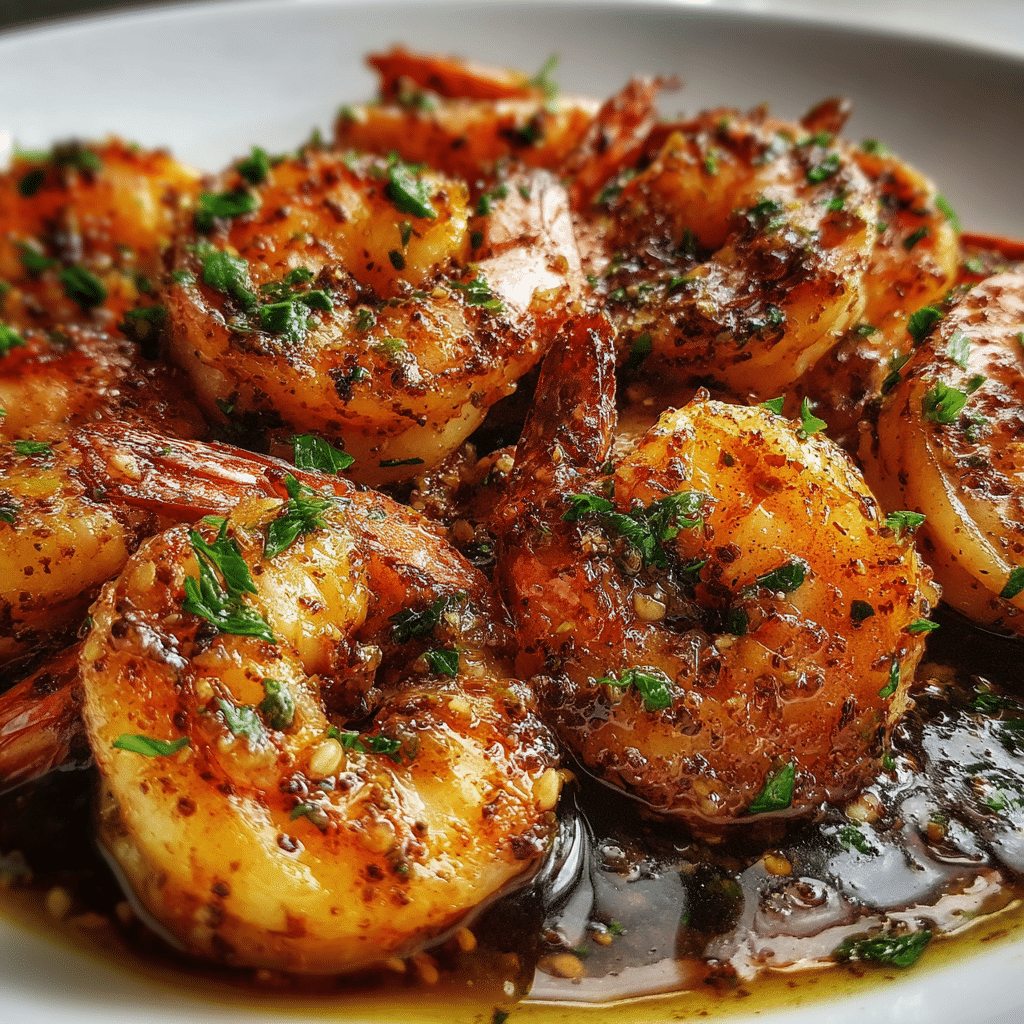
Craving something flavorful, quick, and utterly satisfying? Peppery Garlic Shrimp is the perfect recipe to whip up when you want a bold, spicy kick paired with the rich aroma of garlic and tender, succulent shrimp. This dish combines simple ingredients with a burst of vibrant taste, making it ideal for busy weeknights or when you want to impress guests without spending hours in the kitchen. Let’s dive into how you can make this Peppery Garlic Shrimp your new favorite go-to meal.
Why You’ll Love This Recipe
- Quick and Easy: Ready in under 20 minutes, perfect for fast meals without compromising on flavor.
- Bold Flavor Explosion: Garlic and black pepper create a mouthwatering, spicy taste that wakes up your palate.
- Healthy Protein Boost: Shrimp is low in calories and packed with lean protein for a nutritious meal.
- Versatile Serving Options: Enjoy it over rice, pasta, or on its own as a tasty appetizer.
- Minimal Ingredients: Simple pantry staples come together to create an impressive dish.
Ingredients You’ll Need
This Peppery Garlic Shrimp recipe shines because it uses uncomplicated, essential ingredients that contribute texture, color, and amazing flavor. Knowing what each component brings to the dish will help you appreciate the balance of bold and fresh tastes.
- Shrimp: Fresh or frozen peeled shrimp, which cook quickly and absorb flavors beautifully.
- Garlic: Minced fresh garlic delivers an intense aromatic base to the recipe.
- Black Pepper: Freshly cracked black pepper adds the characteristic heat and spice.
- Olive Oil: A good-quality olive oil enhances the dish’s richness and aids in a gentle sauté.
- Lemon Juice: Adds a bright, citrusy zing that balances the peppery heat.
- Salt: Enhances all flavors and seasons the shrimp perfectly.
- Optional Red Pepper Flakes: For an extra kick, but it’s great even without them.
- Fresh Parsley: Adds a pop of color and freshness to finish the dish beautifully.
Variations for Peppery Garlic Shrimp
One of the best things about this Peppery Garlic Shrimp recipe is how adaptable it is. Whether you want to suit specific dietary needs, spice levels, or ingredient availability, you can easily customize it to your liking without losing its signature flavor.
- Spicy Upgrade: Add cayenne pepper or hot paprika for those who love extra heat.
- Herb Twist: Swap parsley for cilantro or basil to change the fresh herbal note.
- Low Sodium: Reduce salt and substitute with lemon zest for a bright but healthier option.
- Garlic Butter: Use melted butter with garlic instead of olive oil for a richer taste.
- Vegetarian Version: Substitute shrimp with sautéed mushrooms or tofu for a similar texture.

How to Make Peppery Garlic Shrimp
Step 1: Prepare the Shrimp
Start by rinsing the shrimp under cold water and patting them dry with paper towels. Make sure they are fully thawed if using frozen, then set them aside.
Step 2: Heat the Pan and Oil
Place a skillet over medium heat and add olive oil. Let it warm until shimmering but not smoking, ensuring a perfect sear on the shrimp.
Step 3: Sauté Garlic
Add the minced garlic to the pan and stir gently for about 30 seconds to one minute, just until fragrant—be careful not to burn it as garlic turns bitter quickly.
Step 4: Cook the Shrimp
Place shrimp in a single layer in the pan, seasoning immediately with salt and plenty of cracked black pepper. Cook each side for about 2 minutes until the shrimp turn pink and opaque.
Step 5: Add Lemon and Toss
Once the shrimp are cooked, remove the pan from heat and squeeze fresh lemon juice over them. Toss gently to coat all shrimp in the flavorful citrusy, peppery sauce.
Step 6: Garnish and Serve
Sprinkle chopped fresh parsley for color and a hint of herbal freshness before serving straight from the pan or plating over your chosen side.
Pro Tips for Making Peppery Garlic Shrimp
- Use Fresh Ingredients: Fresh garlic and freshly cracked pepper make a huge difference in aroma and flavor.
- Don’t Overcook: Shrimp cook quickly—remove them from heat as soon as they turn pink to keep them tender.
- Toast the Pepper: Slightly toasting black pepper in the oil before adding shrimp enhances its pungency.
- Balance Acidity: Adjust lemon juice to your taste to complement the pepper’s heat without overpowering.
- Prep Ingredients First: Have everything ready to go because this recipe moves fast once cooking begins.
How to Serve Peppery Garlic Shrimp
Garnishes
Fresh herbs like parsley or cilantro add brightness, while a light sprinkling of flaky sea salt can enhance texture and seasoning right before serving.
Side Dishes
Pair your Peppery Garlic Shrimp with fluffy jasmine rice, buttery pasta, or even crisp steamed veggies to round out the meal and soak up all the zesty sauce.
Creative Ways to Present
Serve shrimp on toasted baguette slices as a delicious appetizer, pile them on top of a fresh salad, or create a vibrant shrimp taco with slaw and avocado for a fun twist.
Make Ahead and Storage
Storing Leftovers
Place leftover Peppery Garlic Shrimp in an airtight container and refrigerate promptly; they will stay fresh for up to 2 days, retaining most of their flavor and texture.
Freezing
For longer storage, spread cooled shrimp on a baking sheet to freeze individually, then transfer to a freezer bag for up to 2 months—you’ll want to thaw them gently before reheating to avoid rubberiness.
Reheating
Reheat shrimp on low heat in a skillet with a splash of olive oil or lemon juice to keep them juicy, avoiding the microwave which can overcook and dry out the shrimp quickly.
FAQs
Can I use frozen shrimp for this recipe?
Absolutely! Just be sure to thaw the shrimp fully and pat them dry before cooking to get the best texture and flavor.
How spicy is Peppery Garlic Shrimp?
The spice level mainly comes from black pepper and optional red pepper flakes, so you can adjust them according to your heat preference.
Is this recipe gluten-free?
Yes, Peppery Garlic Shrimp contains no gluten ingredients, making it suitable for gluten-free diets as long as you check any sides used.
Can I make this recipe vegan or vegetarian?
Yes! Replace shrimp with hearty vegetables like mushrooms or tofu and follow the same steps for a delicious plant-based version.
What’s the best side dish to serve with Peppery Garlic Shrimp?
Simple sides like steamed vegetables, rice, or garlic butter pasta complement the dish perfectly, absorbing the flavorful sauce.
Final Thoughts
This Peppery Garlic Shrimp recipe is a delightful combination of bold flavors, quick prep time, and satisfying protein that makes it a fantastic addition to your weeknight dinner rotation. Give it a try, and you’ll quickly see why it’s become a beloved favorite for anyone who loves that perfect bite of spicy, garlicky goodness.
Related Posts
- Easy Skillet Bruschetta Chicken Recipe to Try
- Easy Homemade Pizza Dough Recipe to Try Tonight
- Why Mediterranean Grilled Chicken Thighs Delight
Peppery Garlic Shrimp
- Total Time: 15 minutes
- Yield: 2 servings 1x
- Diet: Gluten Free
Description
Peppery Garlic Shrimp is a quick and flavorful dish featuring tender shrimp sautéed with minced garlic, freshly cracked black pepper, and a splash of lemon juice. Ready in under 20 minutes, this recipe offers a bold spicy kick balanced by bright citrus and fresh parsley, making it perfect for fast weeknight dinners or impressive appetizers with minimal ingredients.
Ingredients
Main Ingredients
- 12 oz fresh or frozen peeled shrimp (thawed if frozen)
- 3 cloves garlic, minced
- 1 teaspoon freshly cracked black pepper, plus extra to taste
- 2 tablespoons good-quality olive oil
- 1 tablespoon fresh lemon juice
- ¼ teaspoon salt, or to taste
Optional Ingredients
- ¼ teaspoon red pepper flakes (optional, for extra heat)
- 2 tablespoons fresh parsley, chopped (for garnish)
Instructions
- Prepare the Shrimp: Rinse the shrimp under cold water and pat dry with paper towels. Ensure they are fully thawed if using frozen, then set aside.
- Heat the Pan and Oil: Place a skillet over medium heat and add the olive oil. Let it warm until shimmering but not smoking, to achieve the perfect sear.
- Sauté Garlic: Add the minced garlic to the pan and stir gently for about 30 seconds to 1 minute until fragrant, being careful not to burn the garlic to avoid bitterness.
- Cook the Shrimp: Arrange the shrimp in a single layer in the pan. Season immediately with salt and plenty of freshly cracked black pepper. Cook for about 2 minutes on each side until they turn pink and opaque.
- Add Lemon and Toss: Remove the pan from heat and squeeze fresh lemon juice over the cooked shrimp. Toss gently to coat all shrimp evenly in the citrusy, peppery sauce.
- Garnish and Serve: Sprinkle chopped fresh parsley over the shrimp for color and a fresh herbal note. Serve straight from the pan or plated with your choice of side.
Notes
- Use fresh garlic and freshly cracked black pepper for the best aroma and flavor.
- Do not overcook the shrimp—remove them from heat as soon as they turn pink to keep them tender.
- Toasting the black pepper slightly in the oil before adding shrimp enhances its pungency.
- Adjust lemon juice amount to balance the pepper heat to your liking without overpowering.
- Prepare all ingredients before starting, as cooking moves quickly.
- Prep Time: 5 minutes
- Cook Time: 10 minutes
- Category: Appetizers
- Method: Sautéing
- Cuisine: American
Nutrition
- Serving Size: 6 oz shrimp with sauce
- Calories: 220
- Sugar: 0.5 g
- Sodium: 400 mg
- Fat: 12 g
- Saturated Fat: 1.8 g
- Unsaturated Fat: 10 g
- Trans Fat: 0 g
- Carbohydrates: 2 g
- Fiber: 0.2 g
- Protein: 25 g
- Cholesterol: 180 mg
Keywords: peppery garlic shrimp, quick shrimp recipe, spicy shrimp, garlic shrimp, easy shrimp appetizer, healthy shrimp dish, gluten free shrimp