Traditional Coxinhas

If you’re craving a crispy, savory snack packed with tender shredded chicken and a golden, crunchy exterior, you’re in for a treat. Traditional Coxinhas are Brazilian chicken croquettes that have captured hearts around the world with their perfect balance of flavors and irresistibly satisfying texture. Whether you’re looking to impress at your next gathering or simply enjoy a delicious homemade snack, learning how to make traditional coxinhas perfectly is easier than you think. This step-by-step recipe will guide you through creating these mouthwatering delights that are crispy outside, creamy inside, and bursting with flavor.
Why You’ll Love This Recipe
- Crispy Perfection: The outside is golden and crunchy, creating a delightful texture contrast to the tender chicken filling.
- Rich Flavor: Savor the well-seasoned chicken mixture with hints of herbs and spices that make each bite unforgettable.
- Family Favorite: Traditional Coxinhas bring people together, making them an ideal dish for sharing with friends and family.
- Make-Ahead Friendly: These snacks can be prepped and cooked in advance, perfect for parties or busy days.
- Versatile Snack: Serve them as appetizers, party bites, or even a satisfying snack any time of the day.
Ingredients You’ll Need
Making traditional coxinhas perfectly is all about using simple, fresh ingredients that combine into an exceptional flavor. Each component plays a crucial role in achieving the ideal dough consistency, the luscious chicken filling, and the signature crispy coating.
- Chicken Breast: Boneless and skinless, cooked and shredded to create the tender filling.
- Milk: Adds creaminess to the dough, ensuring a soft yet firm consistency.
- Chicken Broth: Enhances the dough’s flavor, building savory depth.
- All-Purpose Flour: The base for the dough that binds everything together smoothly and firm enough for shaping.
- Butter: Provides richness to the dough and contributes to the tender texture.
- Onion and Garlic: Aromatics that infuse the chicken filling with irresistible flavor.
- Parsley: Fresh and bright, it adds a hint of freshness and color to the filling.
- Salt and Pepper: Essential seasonings that balance the taste perfectly.
- Eggs: Used for the egg wash to give the coxinhas a beautiful golden color after frying.
- Bread Crumbs: Coat the shaped coxinhas for that crispy outer crust everyone loves.
- Oil for Frying: Choose a neutral oil with a high smoke point for perfectly fried coxinhas.
Variations for Traditional Coxinhas
One of the best things about traditional coxinhas is how flexible they are. Feel free to personalize this recipe to suit your tastes, dietary preferences, or the ingredients you have on hand. Each variation keeps the joy of the original while offering a fresh twist.
- Cheesy Coxinhas: Add shredded mozzarella or cream cheese inside for an ooey-gooey surprise.
- Spicy Coxinhas: Mix in chopped jalapeños or a dash of hot sauce to the chicken filling for some heat.
- Vegetarian Coxinhas: Substitute shredded jackfruit or mashed potatoes with sautéed vegetables for a meat-free option.
- Herb-Infused Dough: Incorporate chopped basil or thyme into the dough to elevate the flavor even more.
- Gluten-Free Version: Use gluten-free flour blends and breadcrumbs to make this snack accessible for those with gluten sensitivities.

How to Make Traditional Coxinhas
Step 1: Prepare and Shred the Chicken
Start by boiling the chicken breasts in salted water until fully cooked. Once cooled enough to handle, shred the chicken finely using forks or your hands. Set aside to use in the filling.
Step 2: Cook the Filling
In a pan, sauté finely chopped onion and garlic until fragrant. Add the shredded chicken along with salt, pepper, and chopped parsley. Mix everything well to combine the flavors, then remove from heat and set aside.
Step 3: Make the Dough
In a pot, bring the chicken broth, milk, butter, and a pinch of salt to a boil. Gradually add the flour while stirring constantly until the dough pulls away from the sides, forming a smooth, firm ball. Transfer the dough to a clean surface to cool slightly.
Step 4: Shape the Coxinhas
Take a small piece of dough and flatten it in your hand to form a disc. Place a spoonful of chicken filling in the center and carefully mold the dough around the filling, shaping it into a teardrop or drumstick-like form. Repeat with the remaining dough and filling.
Step 5: Bread the Coxinhas
Dip each shaped coxinha into beaten egg, then roll it in breadcrumbs to coat evenly. This step ensures a golden and crispy crust when fried.
Step 6: Fry to Golden Perfection
Heat oil in a deep pan or fryer to 350°F (175°C). Carefully fry the coxinhas in batches until they are golden brown all over, about 4-5 minutes. Remove with a slotted spoon and drain on paper towels to remove excess oil.
Pro Tips for Making Traditional Coxinhas
- Use Warm Broth: Warm liquids help the flour absorb evenly, making the dough smoother and easier to handle.
- Don’t Overfill: Keep the filling amount moderate to prevent the dough from breaking during shaping and frying.
- Dry Dough Hands: Slightly wetting your hands helps in molding the coxinhas without sticking.
- Maintain Oil Temperature: Fry at the right heat to get crispy exteriors and perfectly cooked interiors without greasy results.
- Double Coat for Extra Crunch: For extra crunchy coxinhas, repeat the egg wash and breadcrumb step before frying.
How to Serve Traditional Coxinhas
Garnishes
Sprinkle freshly chopped parsley or cilantro on top to add a pop of vibrant color and fresh aroma that complements the richness of the coxinhas.
Side Dishes
Serve with classic Brazilian sides like a tangy vinaigrette salad, black beans, or even a creamy garlic aioli for dipping to round out the flavors and textures.
Creative Ways to Present
For parties, serve traditional coxinhas on wooden skewers or in mini cupcake liners to keep them neat and easy to grab, making them a charming finger food option.
Make Ahead and Storage
Storing Leftovers
Store any leftover coxinhas in an airtight container in the refrigerator for up to 3 days. Reheat them in an oven or air fryer to regain their crispiness.
Freezing
Freeze uncooked, breaded coxinhas on a baking sheet until solid, then transfer to a freezer-safe bag. They can be stored for up to 1 month and fried directly from frozen.
Reheating
To reheat, bake or air fry at 350°F (175°C) for 10-15 minutes. Avoid microwaving as it will soften the crisp, kenning the crunchy exterior intact.
FAQs
Can I use rotisserie chicken for the filling?
Absolutely! Rotisserie chicken works well and saves time since it is already cooked and flavorful, just shred it finely before mixing.
What if I don’t have breadcrumbs?
You can make your own by toasting and crushing bread slices, or substitute with crushed cornflakes or panko for a crunchier texture.
Is frying the only cooking method for coxinhas?
While frying is traditional and gives the best crispy texture, you can bake them for a healthier alternative, though they won’t be as crunchy.
How do I prevent the dough from sticking to my hands?
Lightly oil or wet your hands with water when shaping the dough to prevent sticking and to make molding easier.
Can I make the dough ahead of time?
Yes, the dough can be made and refrigerated for up to 24 hours. Just let it come to room temperature and knead lightly before shaping.
Final Thoughts
There’s nothing quite like biting into a perfectly made traditional coxinha—crispy on the outside, soft and savory on the inside. Once you master this classic Brazilian snack, it will quickly become a beloved recipe to share at family get-togethers and celebrations. With these easy steps and pro tips, you’re well on your way to creating traditional coxinhas that taste like they came from a local Brazilian street vendor. Grab your ingredients, roll up your sleeves, and enjoy the delicious journey!
Related Posts
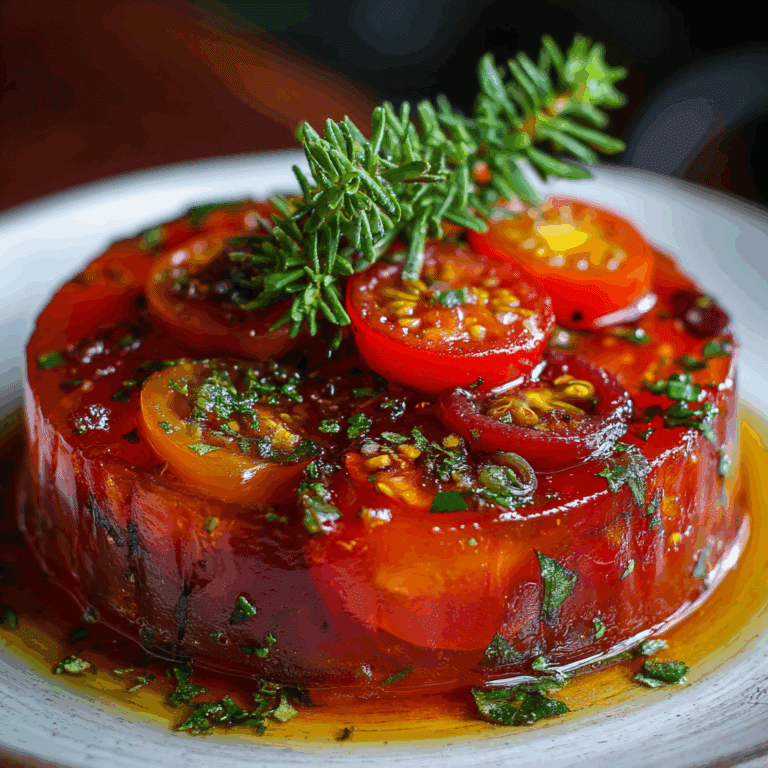
- Cheesy Garlic Bread
- Garlic Parmesan Bread Bites
- Sweet Potato & Corn Cakes with Tamarind Bacon & Avocado

Traditional Coxinhas
- Total Time: 45 minutes
- Yield: 20 coxinhas 1x
- Diet: Contains gluten (can be made gluten-free with substitutions)
Description
Traditional Brazilian Coxinhas are crispy, golden croquettes filled with tender shredded chicken seasoned with aromatic herbs and spices. Perfect as a savory snack or appetizer, these treats feature a creamy interior wrapped in a soft dough and a perfectly crunchy exterior. This recipe guides you through making authentic Coxinhas with tips for flawless dough and flavorful filling, ideal for family gatherings or parties.
Ingredients
Dough
- 2 cups chicken broth
- 1 cup milk
- 2 tablespoons butter
- 1 teaspoon salt
- 2 cups all-purpose flour
Filling
- 2 boneless, skinless chicken breasts, cooked and shredded
- 1 small onion, finely chopped
- 2 cloves garlic, minced
- 2 tablespoons fresh parsley, chopped
- Salt and pepper to taste
Coating and Frying
- 2 eggs, beaten (for egg wash)
- 1 1/2 cups bread crumbs
- Oil for frying (neutral oil with high smoke point)
Instructions
- Prepare and Shred the Chicken: Boil the chicken breasts in salted water until fully cooked. Once cooled, shred the chicken finely using forks or your hands. Set aside.
- Cook the Filling: Sauté the chopped onion and garlic in a pan until fragrant. Add the shredded chicken, salt, pepper, and parsley. Mix well and remove from heat.
- Make the Dough: In a pot, bring chicken broth, milk, butter, and salt to a boil. Gradually add flour while stirring constantly until the dough forms a smooth, firm ball that pulls away from the sides. Transfer to a clean surface to cool slightly.
- Shape the Coxinhas: Flatten small pieces of dough into discs. Place a spoonful of filling in the center and mold the dough around it, shaping into a teardrop or drumstick form. Repeat for remaining dough and filling.
- Bread the Coxinhas: Dip each shaped coxinha into beaten eggs, then roll evenly in bread crumbs for a crispy crust.
- Fry to Golden Perfection: Heat oil to 350°F (175°C). Fry coxinhas in batches for 4-5 minutes until golden brown. Remove with a slotted spoon and drain on paper towels.
Notes
- Use warm broth to make smoother dough that is easier to handle.
- Don’t overfill the coxinhas to prevent breaking during frying.
- Wet your hands slightly when shaping to avoid sticking.
- Maintain proper oil temperature for crispy, non-greasy results.
- For extra crunch, double coat by repeating the egg wash and breadcrumb step.
- Prep Time: 20 minutes
- Cook Time: 25 minutes
- Category: Appetizers
- Method: Frying
- Cuisine: Brazilian
Nutrition
- Serving Size: 2 coxinhas
- Calories: 250
- Sugar: 1g
- Sodium: 400mg
- Fat: 12g
- Saturated Fat: 5g
- Unsaturated Fat: 6g
- Trans Fat: 0g
- Carbohydrates: 22g
- Fiber: 1g
- Protein: 15g
- Cholesterol: 65mg
Keywords: Coxinhas, Brazilian snacks, chicken croquettes, fried appetizers, party snacks